 AI Models Company
An AI influencer prompt works best as a small production brief: identity, action, location, clothing, light and framing. Keep the identity input stable and change the part of the scene you actually want to change.
Below are copyable recipes for portraits, cafes, outfits and local edits. The existing gallery images show the compositions discussed; the text is a set of original prompt templates for adapting those ideas.
Split the prompt into six jobs
| Block | Example | What changes between scenes? |
|---|---|---|
| Identity | Use the attached portrait for the same fictional adult | Keep this stable |
| Action | Holding a plain coffee cup | Change with the shot |
| Location | A quiet cafe with a wooden table | Change with the content idea |
| Clothing | Cream cardigan over a white top | Change deliberately |
| Light | Soft window light from the left | Change for the scene |
| Framing | Medium portrait, both hands visible | Change for the output format |
An identity portrait cannot supply the exact layout of an unseen jacket. A text prompt cannot attach an image that you never uploaded. Decide which information comes from a reference and which comes from the scene instructions.
Google’s image-generation documentation describes combining image inputs and text. Use your editor’s actual reference controls before relying on phrases such as “use reference one.”
Start with a simple identity portrait
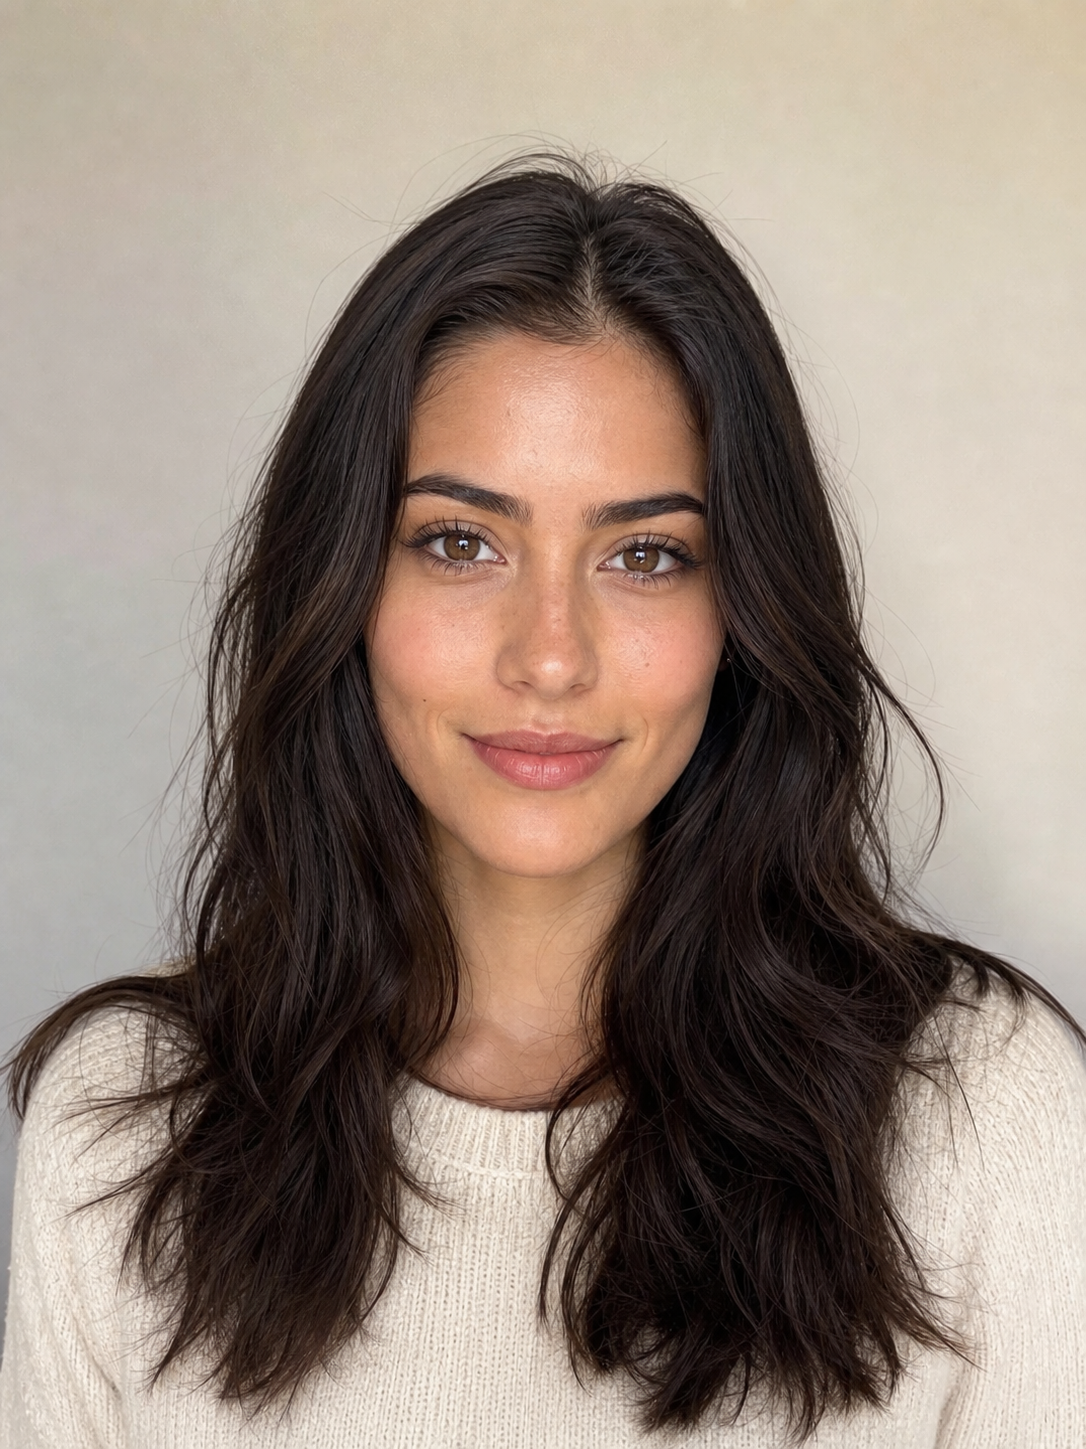
When creating the first identity, describe a small number of useful features and choose a view you can inspect.
Create one photorealistic head-and-shoulders portrait of an original fictional adult aged 29.
Long dark brown hair, hazel eyes, dark brows and natural makeup.
Facing the camera with both eyes visible and a relaxed expression.
Cream crew-neck top, soft even window light and a plain light-gray background.
Whole head in frame, one photograph, no collage and no added text.
Pick the face before investing in more scenes. Save the approved image and a short fixed-feature note. For future requests, attach that portrait rather than rebuilding the face from the text description each time.
The creation walkthrough includes the browser steps and a scene-prompt builder.
Recipe: cafe portrait with a clear action
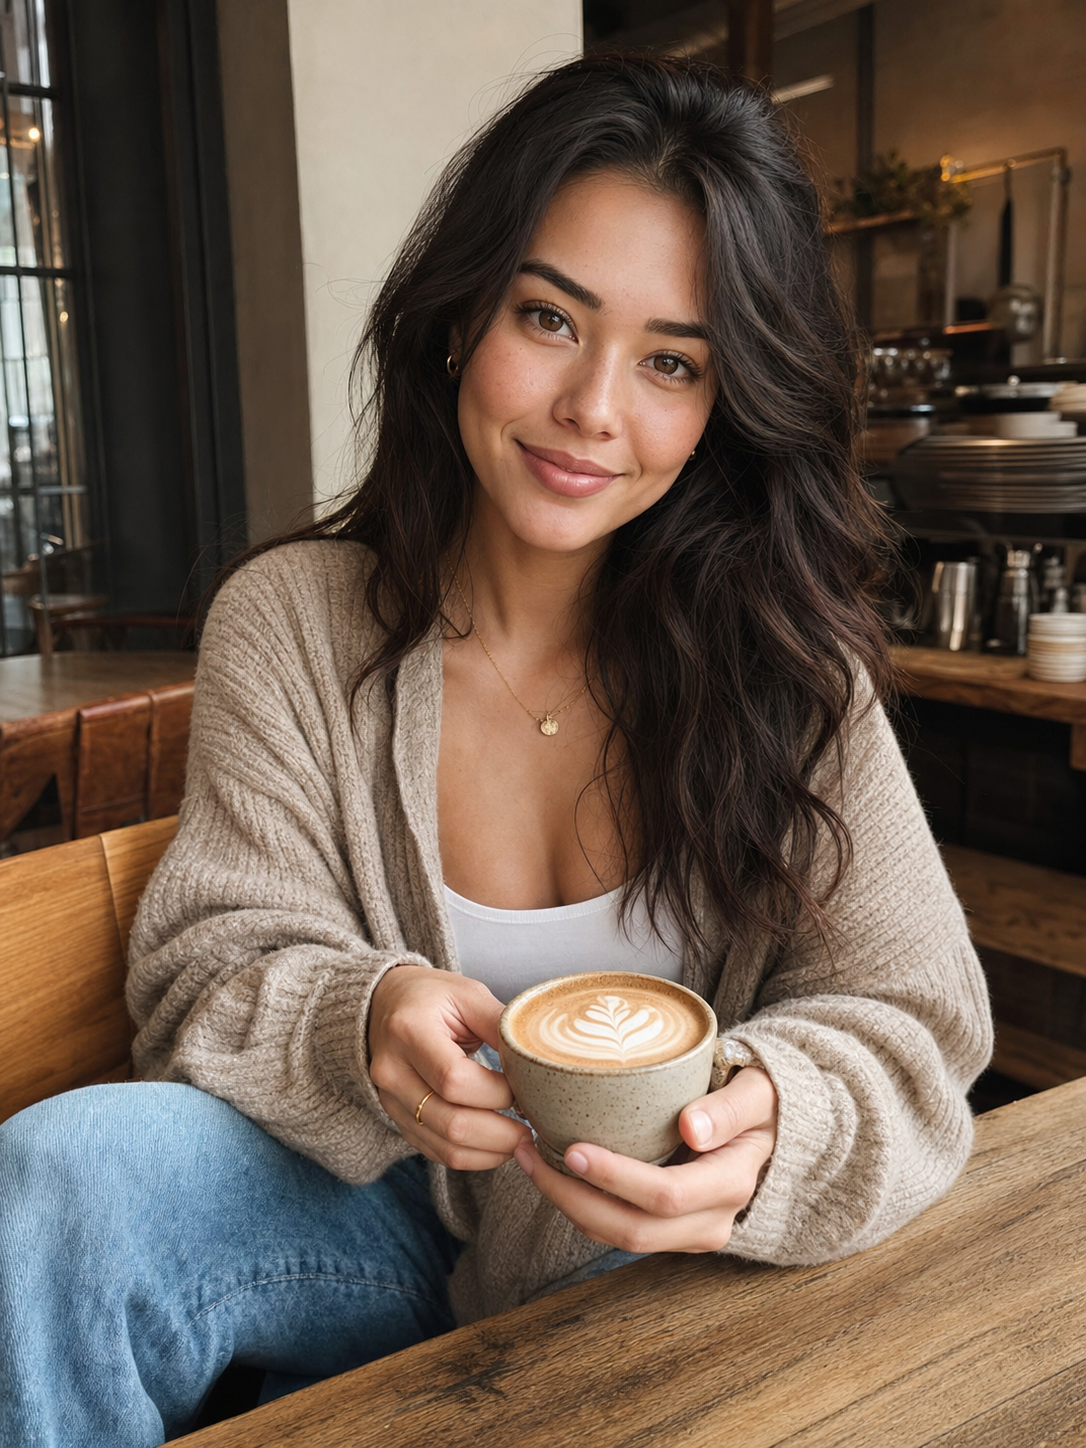
In the cafe gallery example, the cup, both hands and the table make the scene readable. A prompt for that kind of composition should name those parts instead of only asking for “a cafe photo.”
Use the attached portrait as the identity reference for the same fictional adult.
Keep the face structure, eyes, hairline, hair length and skin tone consistent.

Seat her at a quiet cafe table, holding a plain ceramic coffee cup in both hands.
Cream cardigan over a white top. Relaxed expression, looking toward the camera.
Soft window light from the left. A wooden table and softly blurred cafe interior.
Medium portrait showing the head, torso, both hands and the cup.
One vertical photograph, no collage and no added text.
If the hands are the problem, simplify the action. A cup sitting on the table with hands beside it is easier to evaluate than a drinking action that covers the face. Keep the identity and scene stable while trying that change.
Recipe: full-body outfit image
A full-body view adds requirements that a close-up does not have: proportions, the whole outfit, visible hands, shoes and room around the figure. If you need those details, provide a suitable body reference alongside the identity.
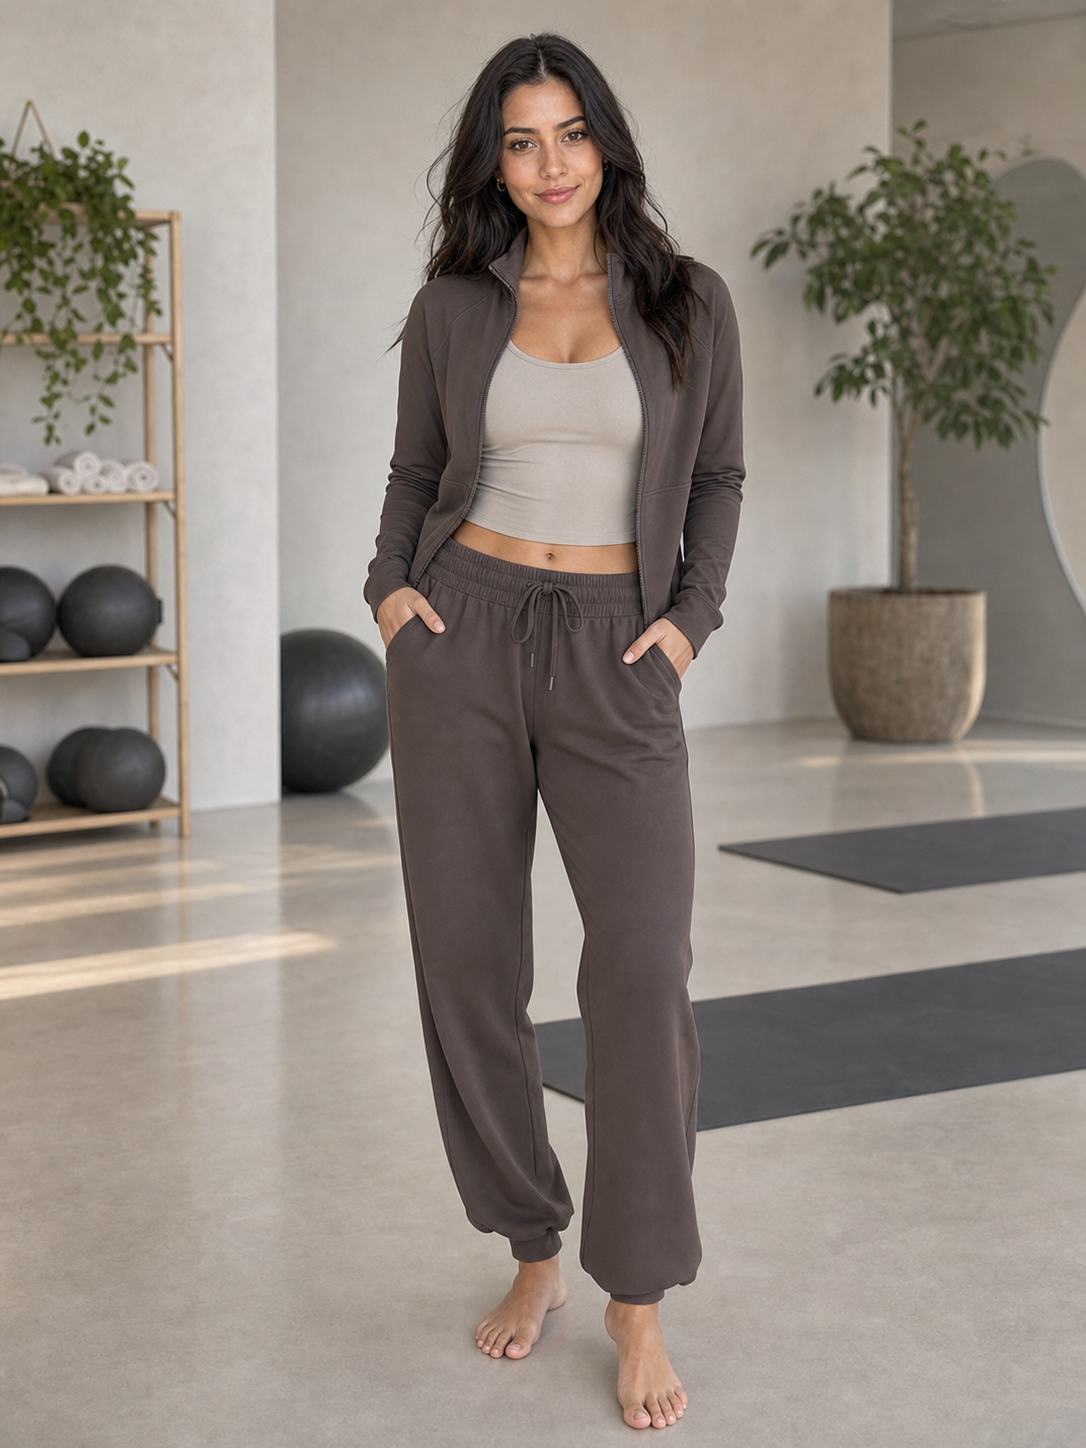
Use the attached identity and body references for the same fictional adult.
A full-body photograph, standing in a bright room beside a plain wall.
An original gray suit with a cream top. Arms relaxed, hands visible.
Level camera around torso height. Soft daylight and natural proportions.
Include the whole head and feet with space around the figure.
One photograph, no collage and no added text.
For a particular item sold by a brand, attach the actual garment reference and describe the details that must match. “Gray jacket” is a concept. “The jacket in the attached SKU reference, including its pocket placement and fastening” is a product task. Use the fashion guide for that review.
Recipe: a night scene without losing the person
At night, the light and contrast become a larger part of the image. Keep the identity instruction stable and describe the light you want the viewer to read the face in.
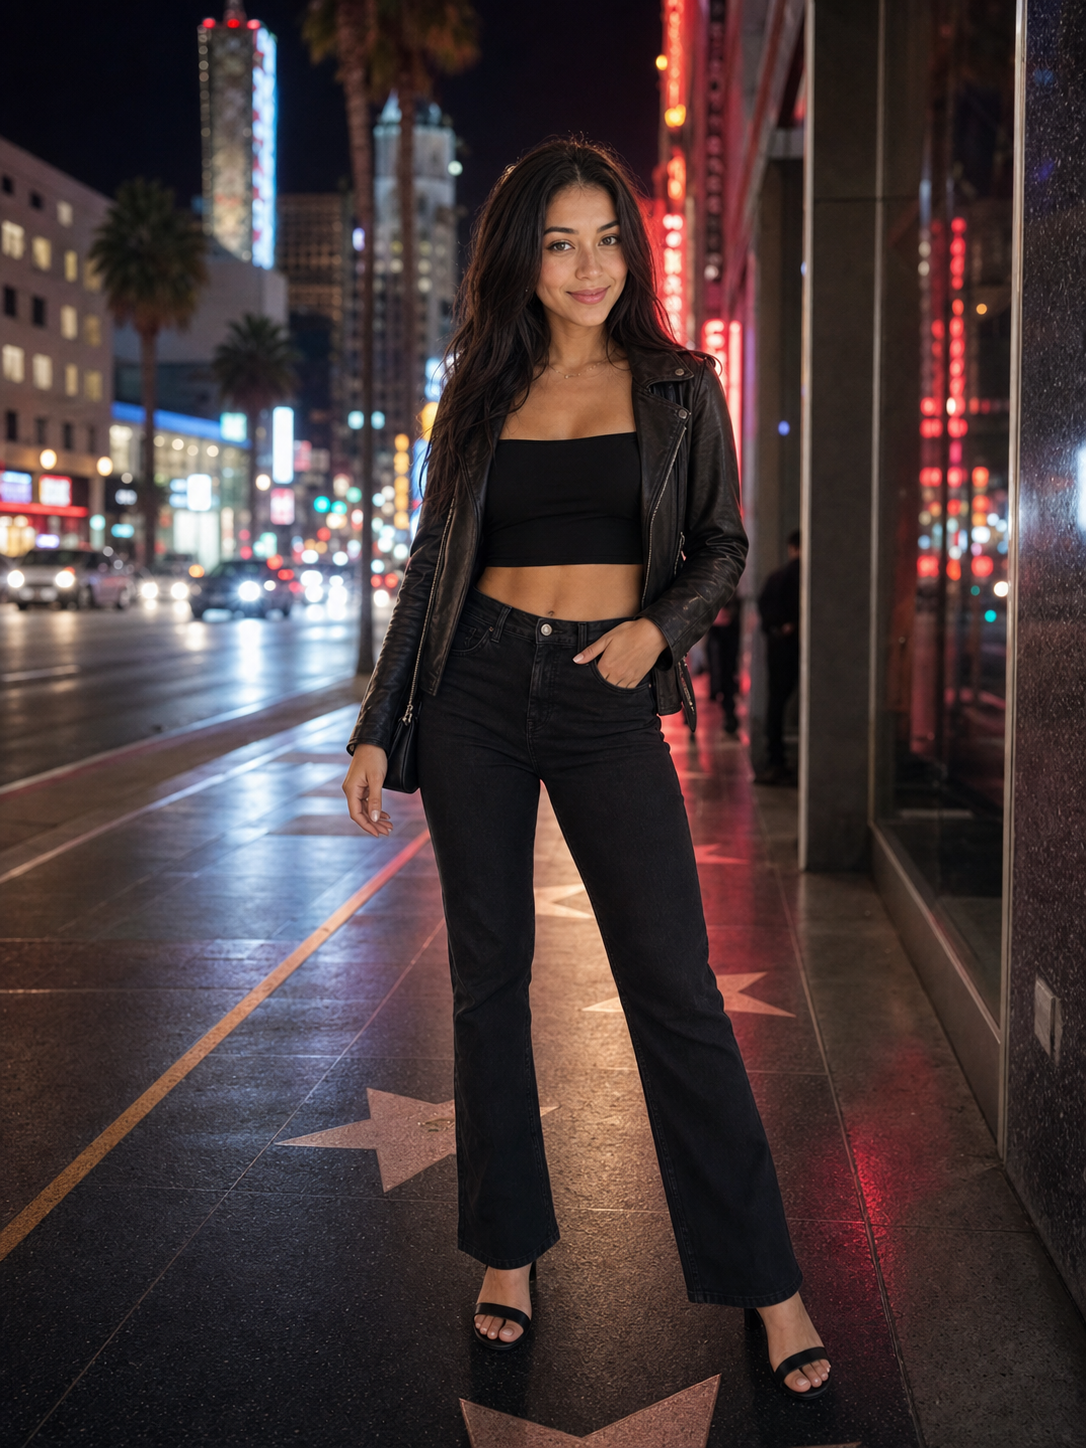
Use the attached portrait as the identity reference for the same fictional adult.
Standing on a city sidewalk at night, hands relaxed and visible.
A simple black outfit. Soft warm light on the face, city lights in the background.
Keep the facial features readable and the background slightly out of focus.
Three-quarter portrait with space around the head and shoulders.
One photograph, no collage and no added text.
When a night scene feels like a different person, test a simpler front or side light before changing the whole character. The consistency guide separates lighting changes from identity drift.
Recipe: local edit for a hand or prop problem
An edit request should identify what stays and what changes. Use the image you want to edit as the input.
Keep the person, face, hair, outfit, light and background unchanged.
Change only the hand position: place the coffee cup on the table,
with both hands resting naturally beside it.
Keep the cup and hands separate and fully visible.
Review the whole image after the edit. If the face changed while the hands improved, return to the previous approved version and narrow the request. Save the successful branch instead of overwriting it with every experiment.
Troubleshoot the sentence that controls the problem
| Output problem | Prompt or input to inspect | A useful next change |
|---|---|---|
| Different face | Missing, unclear or conflicting identity inputs | Reattach the approved portrait and simplify the view |
| Cropped head or feet | Framing instruction | Name the body parts and space that must remain visible |
| Too many objects | Scene description | Reduce it to the subject, action and essential prop |
| Hands cover the face | Action and pose | Move the prop lower or let it rest on a surface |
| Wrong clothing details | Missing garment information | Supply the actual garment reference |
| Busy background | Setting and depth | Ask for a plain setting or softly blurred background |
| Every edit changes the whole image | Scope of the edit | State the specific feature to change and the parts to keep |
Change one block at a time. If you change the face, outfit, setting and lighting together, you will have less information about which instruction helped.
Keep a reusable project folder
character/
  identity/
    portrait-front-v1.png
    body-reference-v1.png
    fixed-features.txt
  cafe/
    prompt-v1.txt
    tool-and-settings.txt
    attempt-01.png
    accepted-v1.png
    caption.txt
  street/
    prompt-v1.txt
    accepted-v1.png
Use names that explain the file’s role. Keep the original download, the approved version and the final export separately. A chat history is useful during production, but a project folder makes it easier to repeat the workflow next week.
Record tool, model, reference version, output size and the reason for the next change. The cost guide turns attempts, accepted outputs and hours into a usable cost comparison.
Common questions
Do longer prompts work better?
Add details that control a real production requirement. Remove clauses that repeat the same request or conflict with the references. A concise, specific scene is easier to diagnose than a long collection of style words.
Can I reuse one prompt for every scene?
Reuse the identity block and the structure. Change action, setting, clothing, light and framing to match the shot.
Should I add “same person” to every request?
Attach the approved identity through the editor’s controls, then use a short instruction to preserve it. The words alone do not supply the face.
How do I prompt a video from the finished image?
Describe motion rather than repeating the entire still-image brief. The video guide includes a sample motion prompt and an existing clip you can inspect.