 AI Models Company
Keeping an AI influencer consistent means preserving the recognizable person while changing the shot. The face, hair, body and fixed details should survive a new pose, outfit or location. Lighting, expression and perspective can change naturally.
The quickest way to diagnose a bad result is to compare it with the reference and name the difference. Then change the input responsible for that part of the shot. This guide uses existing public-gallery images to show what to inspect, followed by a test matrix you can run on your own character.
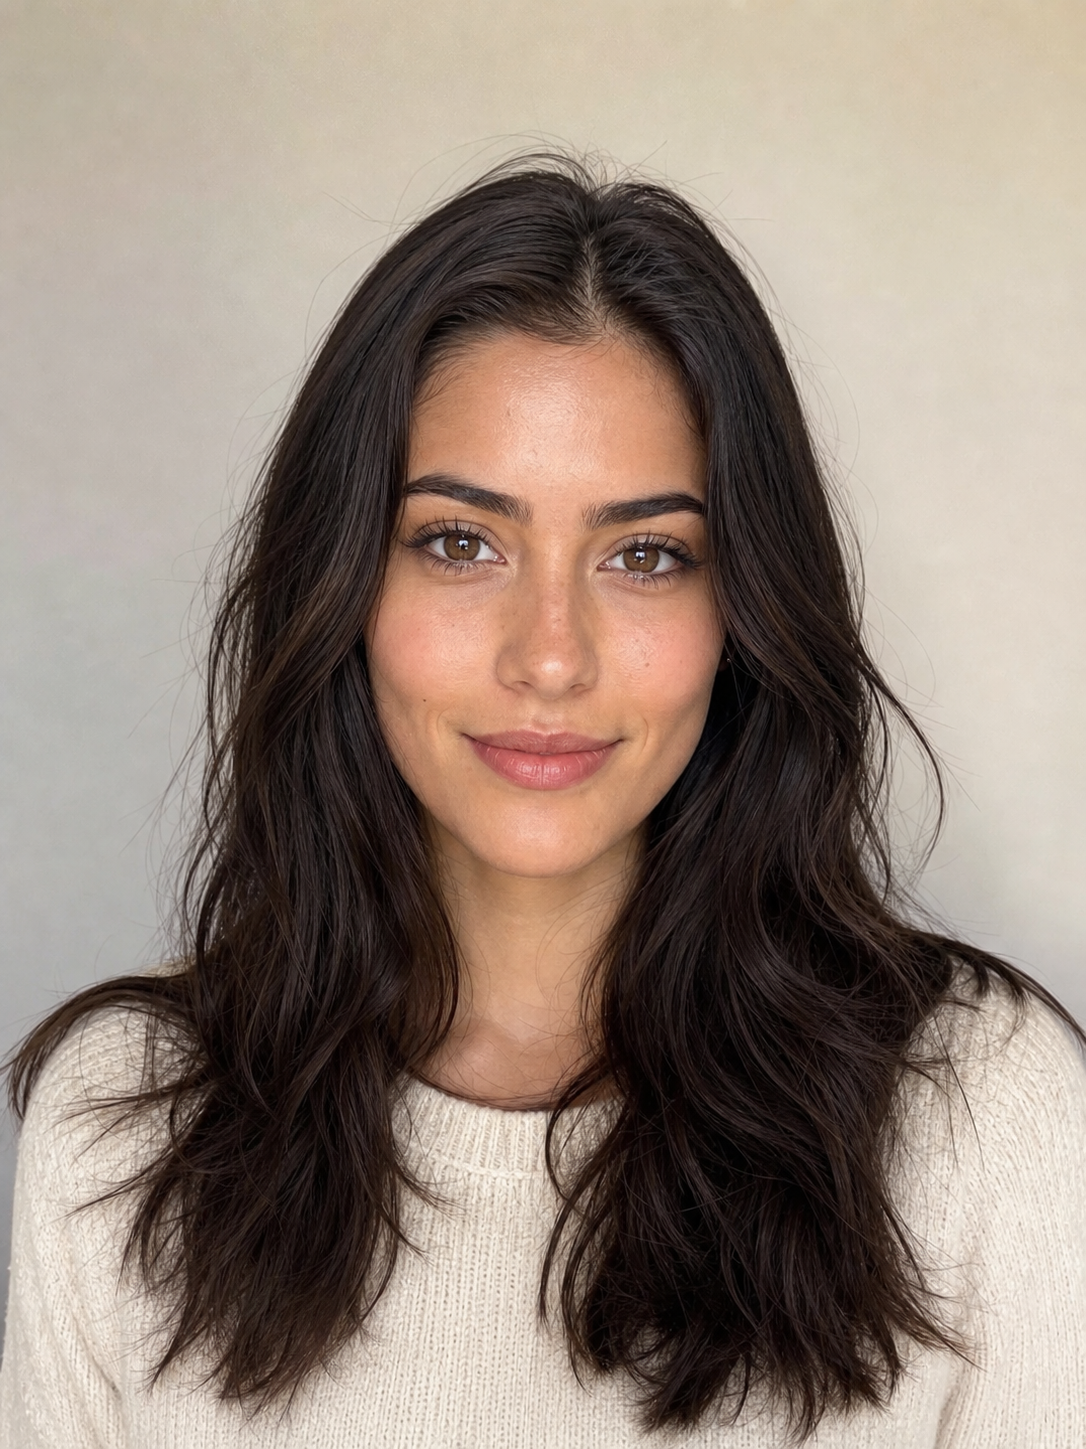

Separate identity drift from a different photograph
A face photographed from below will not look like a straight-on portrait. A smile changes the cheeks and mouth. Strong side light makes one side of the face appear narrower. Those differences are worth understanding before retraining or replacing the character.
Compare the portrait and cafe example above. In the cafe scene, the head tilts and the hair falls forward. The smile and warmer surroundings also change the impression. To judge identity, inspect the eye shape, brows, nose bridge, mouth and jaw together. Do not decide from the hairstyle or makeup alone.
Use three separate passes:
- Identity: Is this still the intended person?
- Shot: Are the pose, angle, crop and light what you requested?
- Object or clothing: Are the garment and props correct?
A correct face with the wrong jacket is an outfit problem. A different face in a perfect cafe is an identity problem. They need different fixes.
Build a small reference set with a job for every image
Start with a clear portrait, then add views that your production actually needs. A head-and-shoulders account has different reference requirements from a full-body fashion series.
| Reference | Its job | What makes it weak |
|---|---|---|
| Front portrait | Shows the eyes, nose, mouth, jaw and hairline clearly | Heavy shadow, filters, blur or an obscured face |
| Three-quarter view | Helps evaluate a turned head | A conflicting version of the face |
| Full-body view | Shows proportions and the intended build | Extreme perspective or cropped feet when the whole figure matters |
| Fixed-feature note | Records hair, marks and other details to preserve | A long description that changes between requests |
| Garment or product photo | Supplies the actual item | Asking the identity portrait to also define unseen product details |

Google’s image documentation describes supplying images as references. Use the reference controls supported by your chosen editor. A filename mentioned in a prompt is not an uploaded image.
Keep one approved identity version. If you save three slightly different faces under the same character name, you will be comparing new outputs against a moving target.
Keep the identity instruction separate from the shot
Use one short identity block at the top of each scene prompt:
Use the attached portrait as the identity reference for the same fictional adult.
Preserve the face structure, eye shape, hairline, hair length and skin tone.
Follow it with the part you want to change:
Full-body street portrait, standing beside a plain stone wall.
A gray suit with a cream top. Arms relaxed, hands visible.
Soft overcast light. Camera level with the torso, with space around the figure.
A prompt that repeats a long text description of the face can introduce competing instructions. Let the reference carry the identity, then use text for the scene and the few fixed details that need emphasis.
The prompt guide provides a breakdown of those blocks. The creation walkthrough shows how to attach a portrait and make a first scene.
Test one change before adding the next
Create a simple baseline scene that you can inspect. Keep the identity references, model, output settings and prompt structure fixed. Then change one task at a time.
| Test | Keep fixed | Change | Inspect |
|---|---|---|---|
| Pose | Identity, outfit and light | Front to three-quarter | Nose, jaw, visible ear and face outline |
| Outfit | Identity, pose and setting | One garment | Whether face or proportions changed with the outfit |
| Lighting | Identity, outfit and pose | Soft front light to side light | Structure versus shadow |
| Framing | Identity and scene | Medium portrait to full body | Body proportions and fixed details |
| Object | Identity, outfit and crop | Add a cup or notebook | Hands, grip, scale and obstruction |
Keep the baseline and each attempt. Write a one-line decision: “face accepted, hands rejected” is more useful than “bad image.” It allows you to fix the action without discarding the identity.
For example, if close portraits work but wide shots change the body, inspect your body reference and camera description first. If the face changes only when turned sideways, test a smaller angle and a compatible three-quarter reference. Treat these as targeted checks, then judge the next result.
Compare the same character across real scene changes
The public-gallery examples below illustrate two different viewing conditions: a bright gym and a city street at night. Compare identity separately from the lighting and wardrobe.
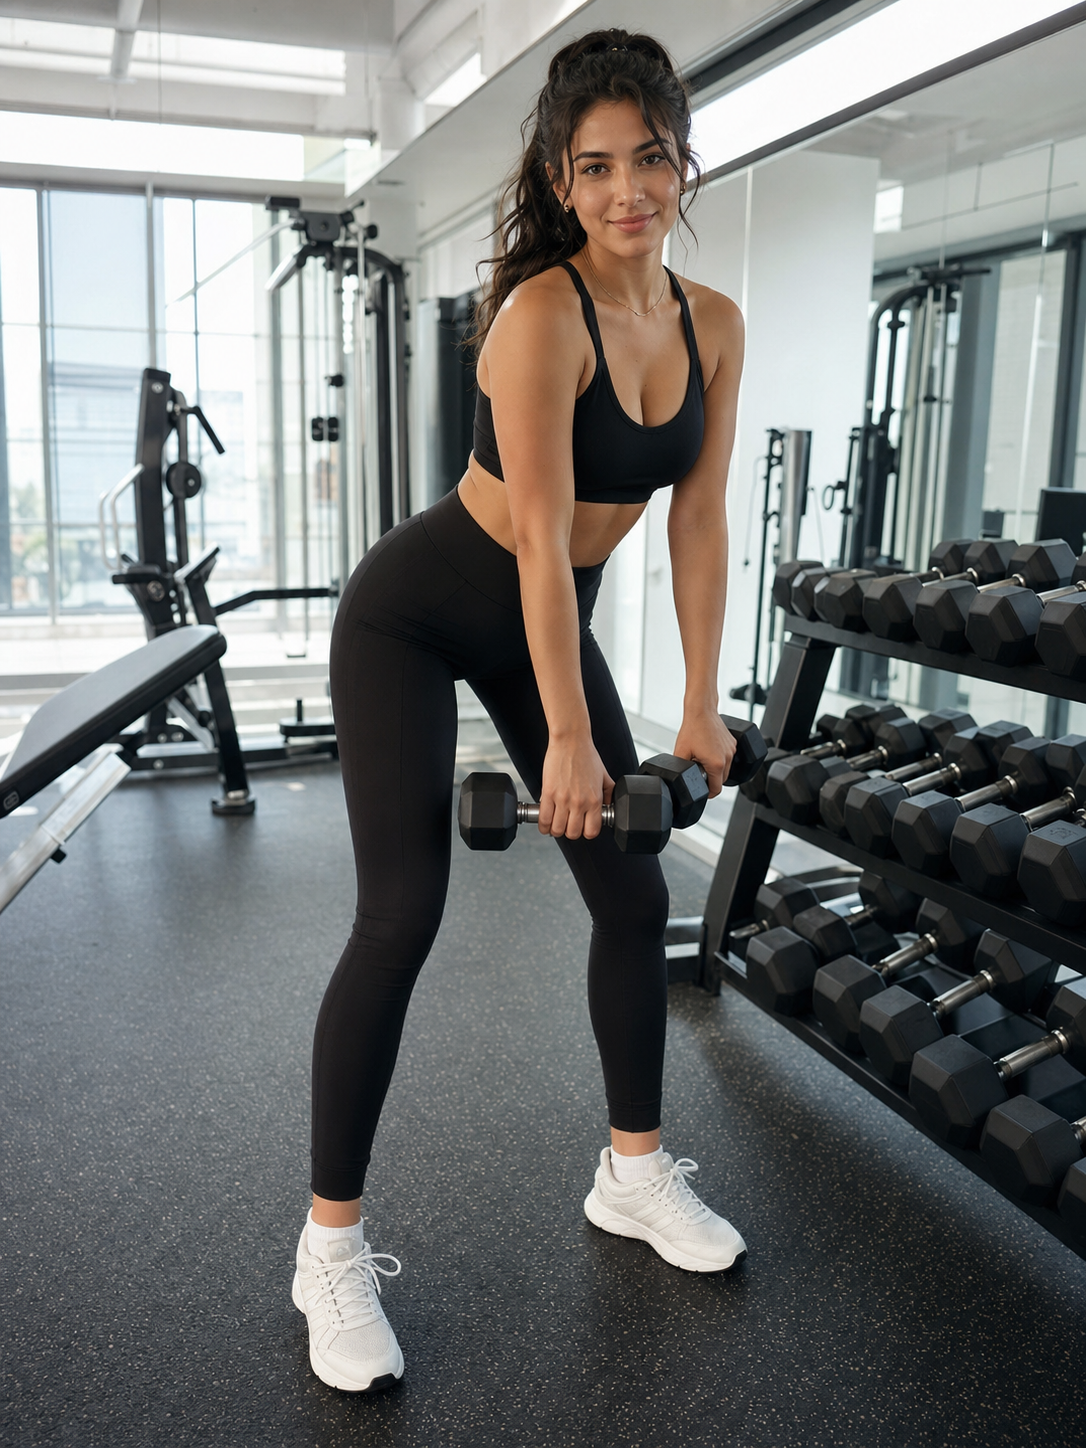
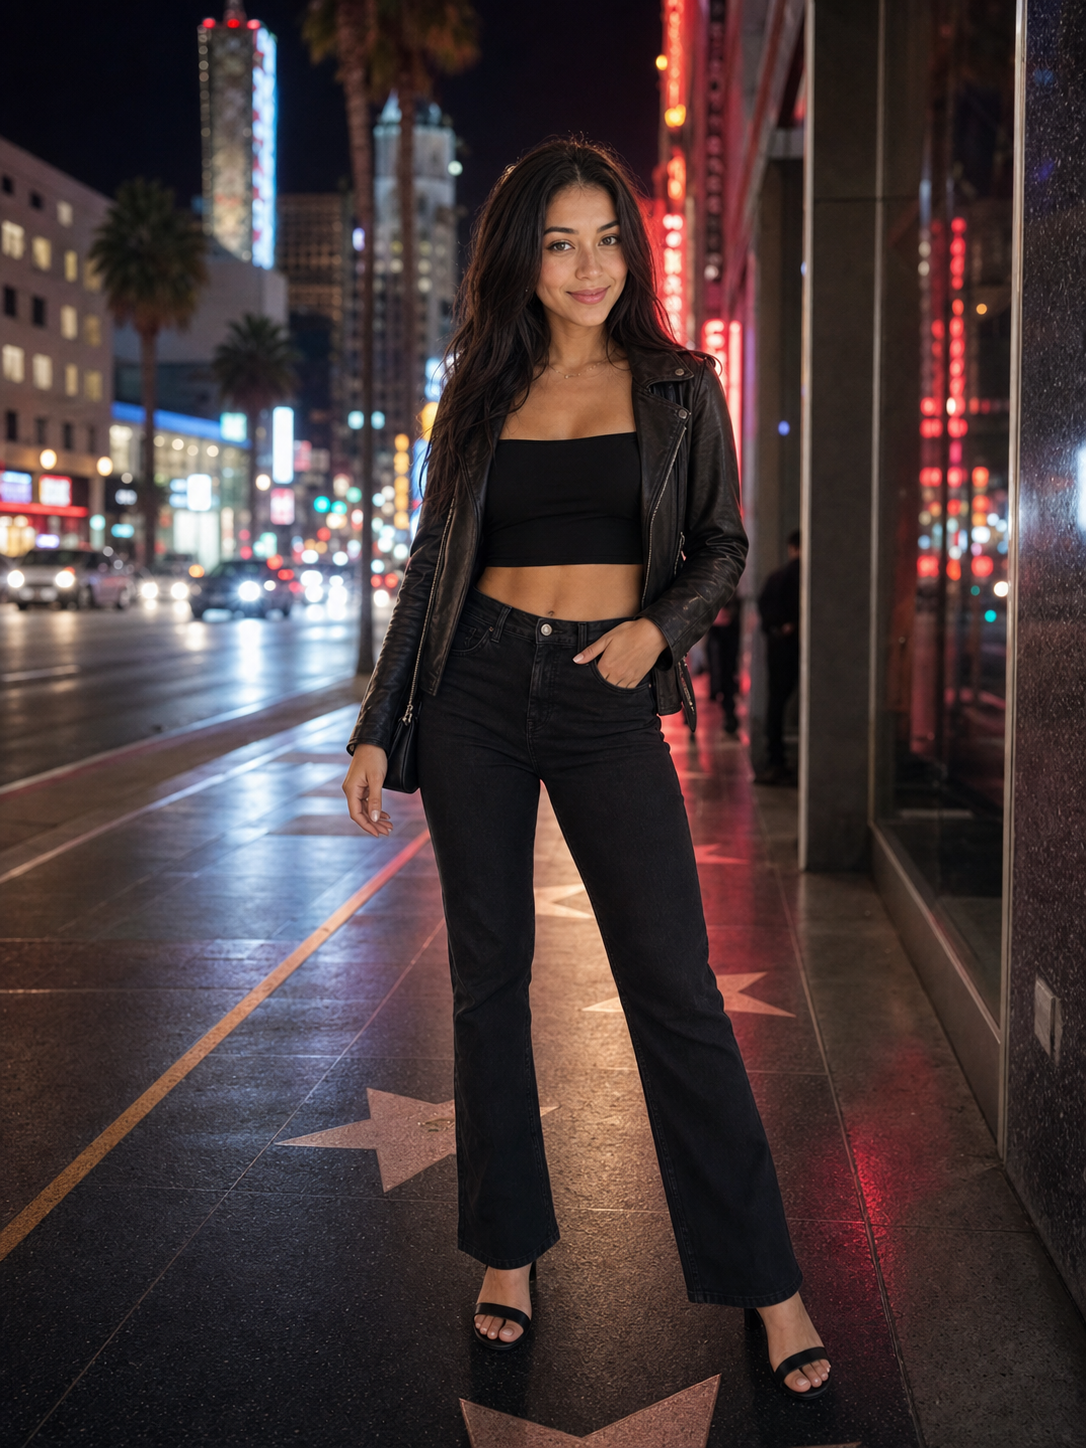
When the face occupies a small part of a full-body image, enlarge it for inspection. Also view the whole composition at the size your audience will see. An image can look convincing as a thumbnail while containing details that matter in a larger export.
Do not force identical color or shadows across every image. The goal is a recognizable person across scenes, not a cutout pasted into every background.
Fix the part that changed
| Problem | First adjustment | Leave alone initially |
|---|---|---|
| Eye, nose or jaw shape changes | Return to the approved portrait; simplify the requested angle | Outfit and location |
| Hair changes between scenes | State length, parting and color in a short fixed-feature note | The whole identity description |
| Body changes in wide shots | Supply a suitable body view and use a level camera angle | A face that already works |
| Jacket details change | Add the garment reference and describe the important construction | Identity references |
| Hands merge with a prop | Simplify the action, grip or obstruction | The face and general scene |
| A local edit changes everything | Return to the previous approved image and request a narrower edit | The full composition |
Here is a local-edit request for an outfit problem:
Keep the person, face, body, pose and background unchanged.
Change only the jacket to the garment shown in the attached clothing reference.
Keep its color, pocket layout and front closure.
If the edit still changes identity, return to the approved source rather than feeding the newest drifted result into the next request. Save the branch that worked so it remains available.
Decide whether training is worth investigating
Training can be useful when the work requires a repeatable identity and the reference workflow is not meeting that need. It also introduces dataset preparation, compatibility and maintenance work.
Hugging Face’s LoRA documentation describes a training approach. The practical decision is whether the additional setup solves the specific failures you recorded. A folder of selected attractive images alone does not tell you that.
Before comparing a trained route with a reference route, use the same task list and record accepted outputs, rejected attempts, time and spending. The cost calculator can compare the economics without counting rejected credits twice.
Review video as a separate task
A still image cannot show what happens during a head turn or hand movement. Watch the complete clip, then inspect moments where the face turns, the mouth changes or a hand crosses the body.
The video guide includes an existing five-second clip with controls for inspecting specific moments. That review should follow still-image approval, not replace it.
Save an acceptance record you can actually use
Copy this record for each scene:
Character and reference version:
Tool and model:
Scene and output size:
Attempt number:
Identity: keep / change
Body and pose: keep / change
Outfit or product: keep / change
Hands and props: keep / change
Next change:
Accepted filename:
A consistent workflow comes from a stable identity input, controlled changes and a useful record of what failed. Finish a small scene set, then reuse what worked in the next batch.
Common questions
Will a fixed seed solve consistency?
A seed is a tool-specific setting, not a portable identity file. Keep it in your log where relevant, and compare the actual output with the approved reference.
Should I use the last generated image as the next reference?
Use an approved image that contains the information needed for the next task. Return to the main portrait if the latest scene introduced a face change.
How do I tell whether the face or the lighting changed?
Compare several structural features together and test a simpler light or angle. The gallery examples above show why a different visual impression is not always a different identity.